Taking Photos From A Helicopter: Windows, Doors, And Settings
Photography on a Rotorua flight comes down to three decisions: which flight you book, where you sit, and how you shoot through the glass. The aircraft are window-seat machines, the landing walks change what a camera is for, and the light over the lakes rewards people who plan.
Short answer
Bring a camera, sunglasses and a jacket, and expect to shoot through a window from a standard seat. Choose a flight with a landing, such as the Mt Tarawera Helicopter Tour with Volcano Landing, rated 4.9 from 43 reviews, if you want ground-level photos as well as aerial ones. Check in 30 minutes early for helicopters, 20 for floatplanes, at the Lakefront.
Choosing a flight first? Start with how to pick the best helicopter ride in Rotorua, then come back for the camera decisions.
| Quick Facts | Detail |
|---|---|
| Meeting point | Volcanic Air, Lakefront, 1 Lakefront Drive, Rotorua |
| Check-in for cameras | 30 minutes before helicopter flights, 20 before floatplanes, for the safety briefing |
| Operator camera advice | Bring camera, sunglasses and a jacket |
| Landing flights | Closed-toe comfortable footwear recommended |
| Weather policy | Flights operate subject to suitable weather; operator reschedules or fully refunds |
| Booking terms | Free cancellation up to 24 hours in advance on flights |
What Can You Actually Photograph From A Rotorua Flight?
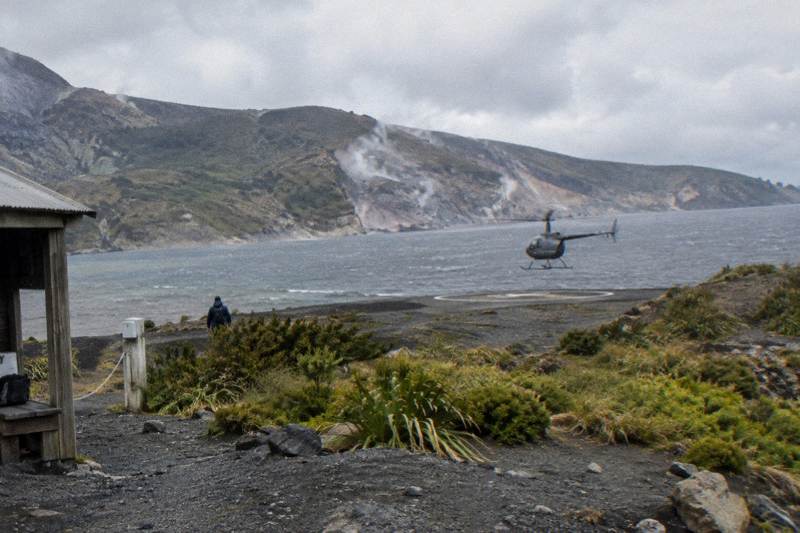
Every flight operates with passengers in standard seats shooting through windows, and the subject list is volcanic: crater lakes, the Tarawera rift, geothermal valleys, and on some trips the summit of the mountain itself. The operator's flight descriptions name the rift, the craters and the lakes, and its FAQ tells guests to bring a camera. Every picture is therefore a through-the-glass picture or a picture taken on the ground during a landing.
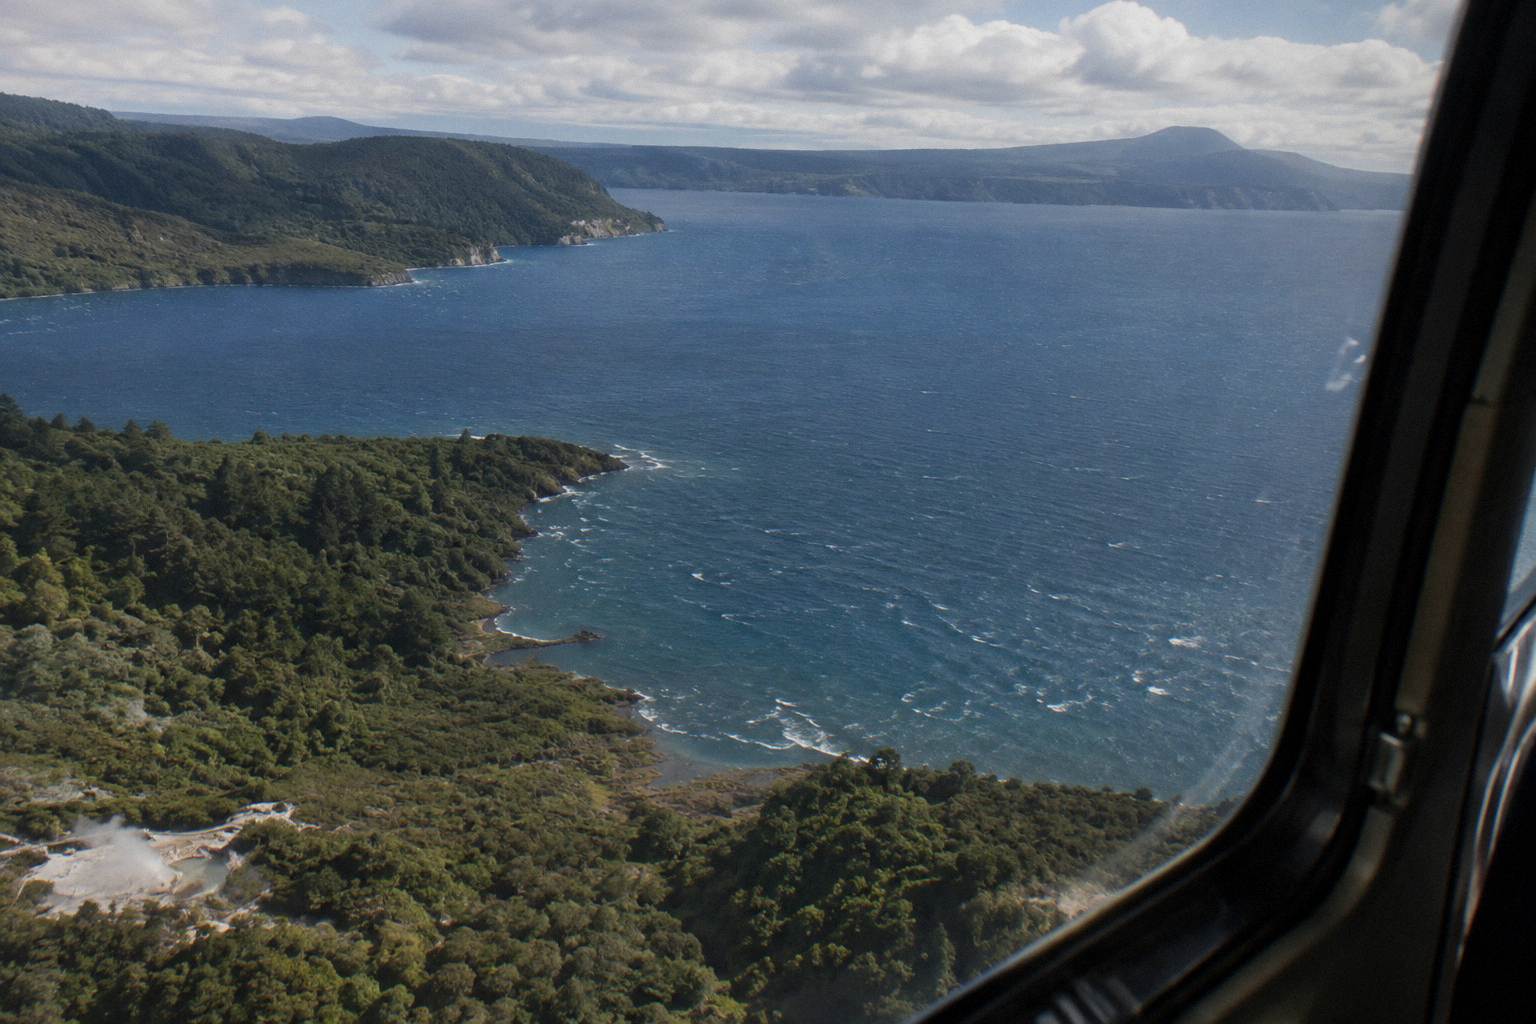
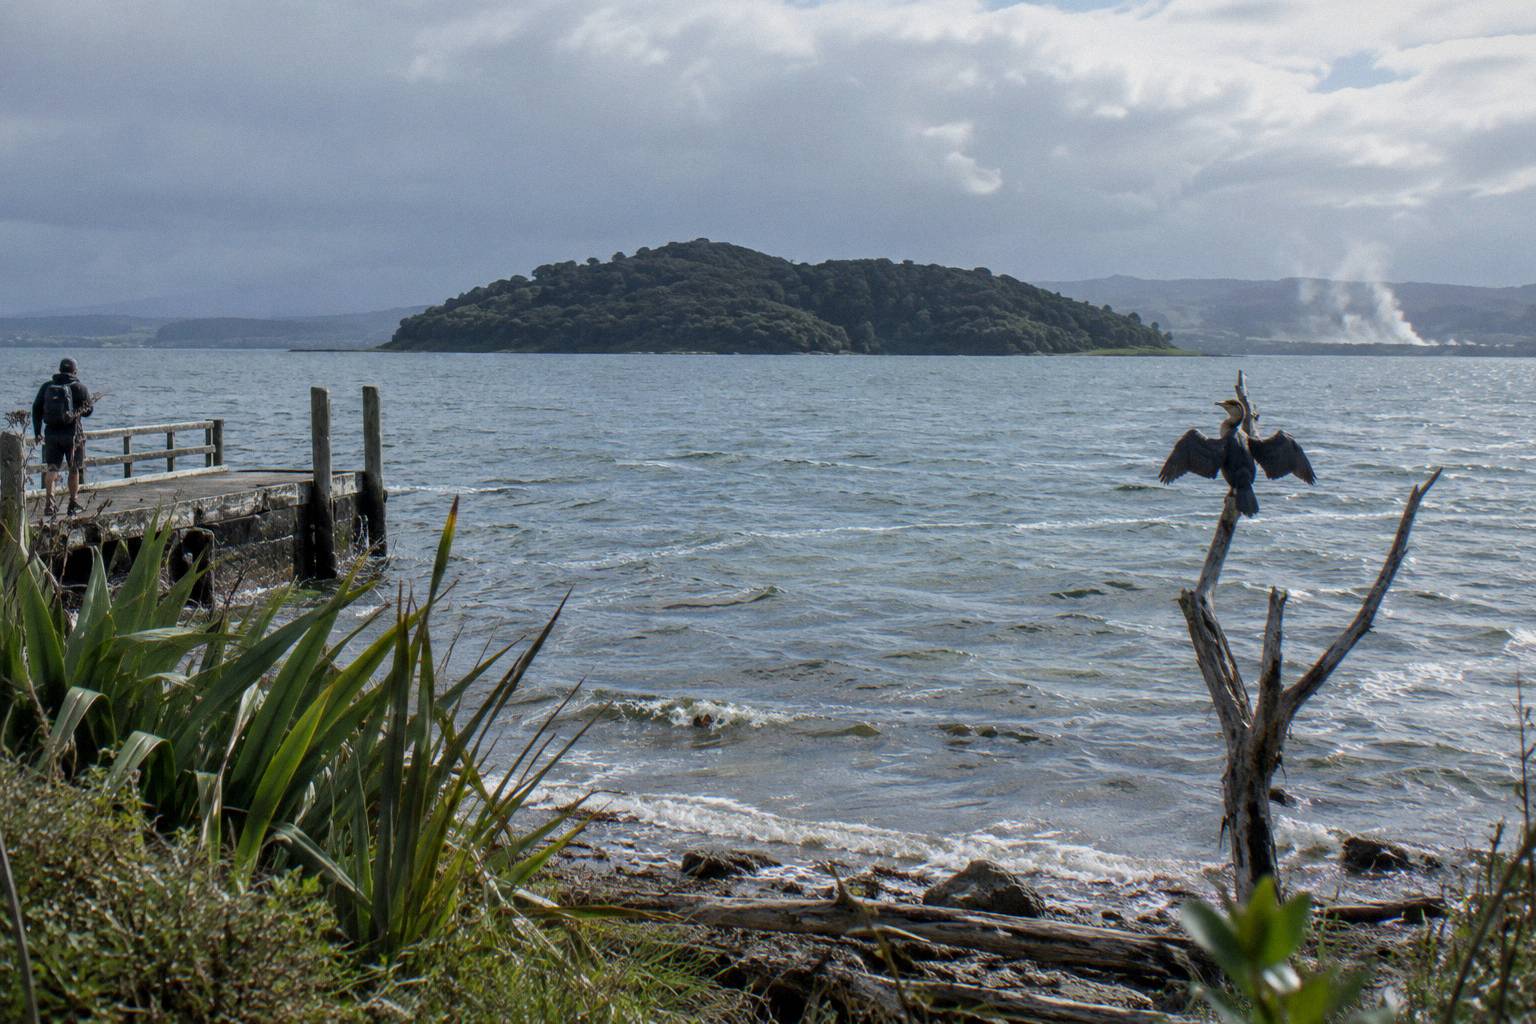
The crater lakes flight description from Volcanic Air names Rotoiti, Okataina, Tarawera, Okareka, Rotomahana, Rotokakahi (Green Lake) and Tikitapu (Blue Lake), plus Mokoia Island, described by the operator as a native bird sanctuary, Sulphur Bay and Rotorua city views. The same page mentions 12 distinct crater lakes. That is the visual menu on the local flights: water in volcanic settings, forest, and the city on the lake edge. The operator's crater lakes flight page lists those lakes and viewpoints directly.
The Mt Tarawera flights add the mountain. GNS science describes a 17 km rift running across the mountain top, through Lake Rotomahana and into the Waimangu Valley area, the scar of the eruption of the night of 10 June 1886. Volcanic Air's own landing flight wording says you fly over "Mt Tarawera's 8km rift and craters", which is the operator describing the stretch over the mountain. Both are true descriptions of different spans, and both tell a photographer the same thing: the mountain is a long, torn, linear subject, best read along its length rather than end-on.
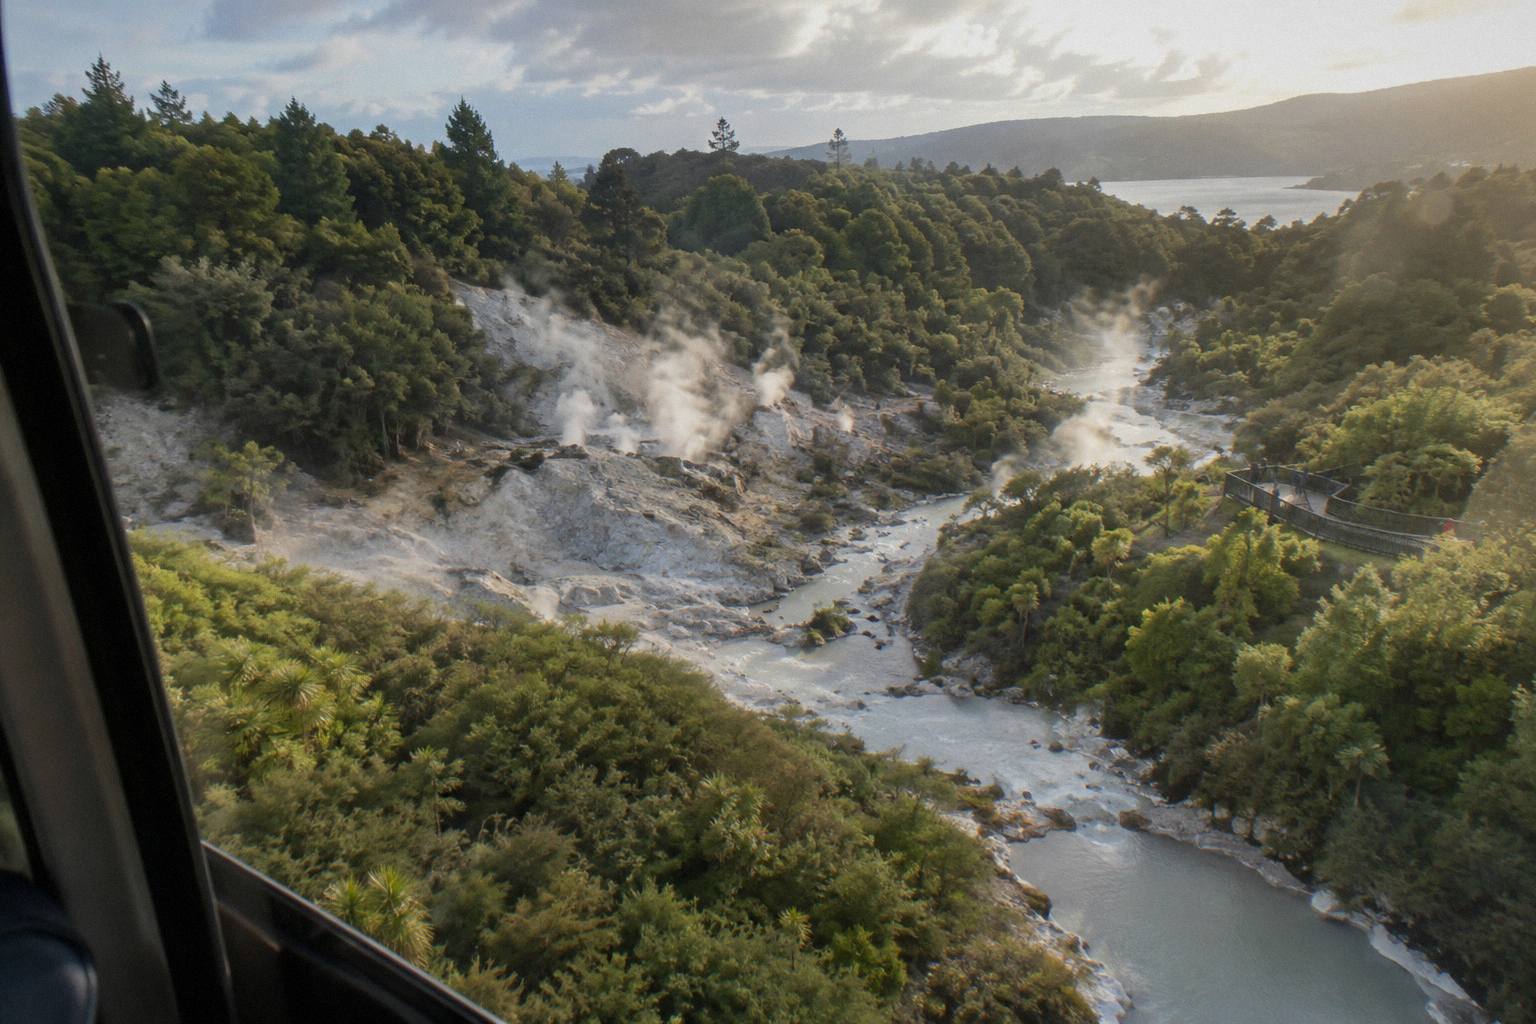
The historical layer matters for pictures too. The eruption buried the Pink and White Terraces, the famous silica hot springs, and GNS notes that remnants of the Pink Terraces may lie at the bottom of Lake Rotomahana. A photograph of that lake is a photograph of a changed landscape, and the Te Wairoa Buried Village site at 1180 Tarawera Road is a ground-level companion subject if the trip allows time. The NZ History account of the eruption covers the terraces and the village for anyone who wants the story behind the frame.
There is also a colour story running through the whole region that a photographer can plan around. The crater lakes run from deep blue to green depending on the angle and the light, the Tarawera rock is red and black, and the geothermal areas add white steam against dark bush. Complementary colours sit side by side everywhere on these routes, which is why even a short flight tends to produce more keepers than the minutes in the air suggest. The trick is not finding subjects, it is choosing between them fast enough to use the light before the aircraft turns away.
Which Rotorua Flight Gives A Photographer The Most?
For photographers, the Mt Tarawera landing flight delivers the most, pairing aerial shots on the outbound and return legs with ground-level summit frames during a guided walk the operator describes as 15 minutes. Flyover-only options compress everything into 15 to 30 minutes of shooting through glass, and pricing follows length and landings, from NZ$395 per person for a 30 minute scenic floatplane to NZ$1,490 per person for a three hour dual-landing day.
The decision really splits three ways. The Mt Tarawera Helicopter Tour with Volcano Landing, rated 4.9 from 43 reviews, is the line-up's landing flight with a review pool worth reading, and its Helicopter Volcano Landing link sits beside the fuller write-up in the Tarawera landing guide. The Rotorua: Helicopter Flight and Guided Walk on Mt Tarawera, from NZ$675 per person, is the other summit option, a 40 minute trip built around the walk. And the Scenic Flight over Mt Tarawera and Waimangu Valley, from NZ$395 per person and rated 4.9 from 28 reviews, is the pure flyover: 30 minutes of flight, 40 minutes door to door, no landing.
There is a real photographic logic to each. The flyover rewards a shooter who works fast: the aircraft moves, the light changes as it turns, and there is no chance to recompose on the ground. The landing flights slow the whole day down. After the summit walk on the Volcano Landing tour or the Guided Summit Walk trip, the return leg is a second pass at the same terrain with a camera that has already been set, and the pilot's circuit out and back crosses lakes Okareka, Okataina and Tarawera on the Tarawera route.
The dual-landing options push further. The Dual Landing Thermal Explorer helicopter lands at both Mt Tarawera and Orakei Korako, and the Geothermal Park Landing tour, from NZ$1,490 per person, runs three hours with the same two ground subjects. Orakei Korako is a genuinely different photographic problem from the summit: the park's own pages say the geothermal field is only accessible by boat across the lake, and the operator's floatplane description has the pilot touching down on the winding Waikato River. Steam, water and dark bush make for a colour palette the summit cannot offer.
The park's own claims, which are operator wording, describe up to 23 active geysers and Ruatapu Cave, over 36 m deep, opening onto the Pool of Mirrors. For a camera, that means two very different ground shoots on one day: the dry, open, red rock of the Tarawera summit first, then enclosed steam, silica terraces and cave light at the Hidden Valley. The Orakei Korako visit page covers the boat access, which leaves on request rather than to a timetable, a detail that matters when the flight schedule is fixed and the ground time is not.
| Flight (short name) | Type | Landing | Length | From price | Rating |
|---|---|---|---|---|---|
| Helicopter Volcano Landing | Helicopter | Mt Tarawera summit | Landing flight | No price shown | 4.9 from 43 reviews |
| Helicopter Landing, Guided Summit Walk | Helicopter | Mt Tarawera summit | 40 minutes total | NZ$675 per person | Too few reviews for a rating |
| One-Hour Volcanic Adventure | Helicopter | Mt Tarawera summit | About 1 hour | No price shown | Too few reviews for a rating |
| Geothermal Park Landing, 3 Hours | Helicopter | Tarawera and Orakei Korako | 3 hours total | NZ$1,490 per person | No rating shown |
| Scenic Floatplane, Tarawera And Waimangu | Floatplane | No landing (flyover) | 30 minute flight | NZ$395 per person | 4.9 from 28 reviews |
| Crater Lakes By Helicopter, 15 Minutes | Helicopter | No landing (flyover) | 15 minutes | No price shown | No rating shown |
Amounts are New Zealand dollars, per person booking-page from-prices.
Does Seat Choice Change The Photos?
Seat assignment on these flights is a safety matter, not a preference: passengers are weighed at check-in so the aircraft stays within balance limits, and the operator's terms say a declared-weight deviation can reschedule or even cancel a booking. What a photographer controls is preparation: arrive for the full safety briefing, follow it exactly, and shoot from wherever the aircraft's balance puts you, beside a window.
The weight system is worth understanding before the flight day. The operator asks for individual weights at booking, weighs passengers on arrival, and states that over 110 kg a surcharge may apply at its sole discretion, while over 135 kg as weighed requires two adult fares. None of this is about photography, but all of it is about where the aircraft's load, and therefore its passengers, ends up sitting. The operator's terms and conditions set out those clauses, and the operator FAQ explains the weighing rationale in plain language.
For the camera, the practical consequences are simple. Shoot with the lens as close to the glass as the aircraft's rules allow, which dampens reflections. Do not press anything against the window without the pilot's agreement. Keep the strap on. The FAQ's packing list names a camera, sunglasses and a jacket, and sunglasses in particular are a lens-hood substitute when the sun rakes across the window.
One line-up detail helps here: the One-Hour Volcanic Adventure lists a maximum of six travelers, so every passenger flies in a small group. Fewer heads in the cabin means fewer obstructions across the cabin when you shoot the view on the other side, and faster movement at the landing, when everyone wants the same first frame on the summit.
What Settings Work Through A Helicopter Window?
No camera setting is operator policy, so treat everything in this section as general shooting practice rather than flight fact: through glass, the working problems are reflections, vibration and moving subjects, and the working answers are a fast shutter, the lens near the window, and patience for the turns. The one operator-confirmed fact is the window itself, standard seats on every line-up aircraft.
Reflections first. A dark jacket over your head and camera, used only if it does not interfere with the briefing or the pilot's instructions, kills most internal reflection. Shooting with the sun-side window behind you, or waiting for the aircraft to bank so the window angles away from the sky, removes the rest. A polariser can help with glare but can also band oddly on thick glass at angles, so test it early in the flight rather than at the summit approach.
Vibration next. Rotor RPM transmits to the airframe, and hand-held shutter speeds that work on the ground can smear from the air. A faster shutter, continuous drive, and bracing the camera gently against your own body rather than the window all reduce blur. Zoom lenses beat prime swaps in a small cabin: one body, one lens, no fumbling during a 15 minute crater lakes flight where the whole trip is shorter than a lens change.
| Problem | Cause | Practical answer |
|---|---|---|
| Window reflections | Sky and cabin behind you | Lens close to glass, dark clothing, wait for banks |
| Motion blur | Airframe vibration, aircraft speed | Faster shutter, continuous drive, brace on your body |
| Missed framing | Aircraft turning, short flight | Wide-ish zoom, shoot the turn not just the pass |
| Smudged glass | Window condition varies | Check and note your window at boarding, adjust framing |
| Cold hands on the walk | Summit wind and altitude | Gloves that work the controls, jacket from the packing list |
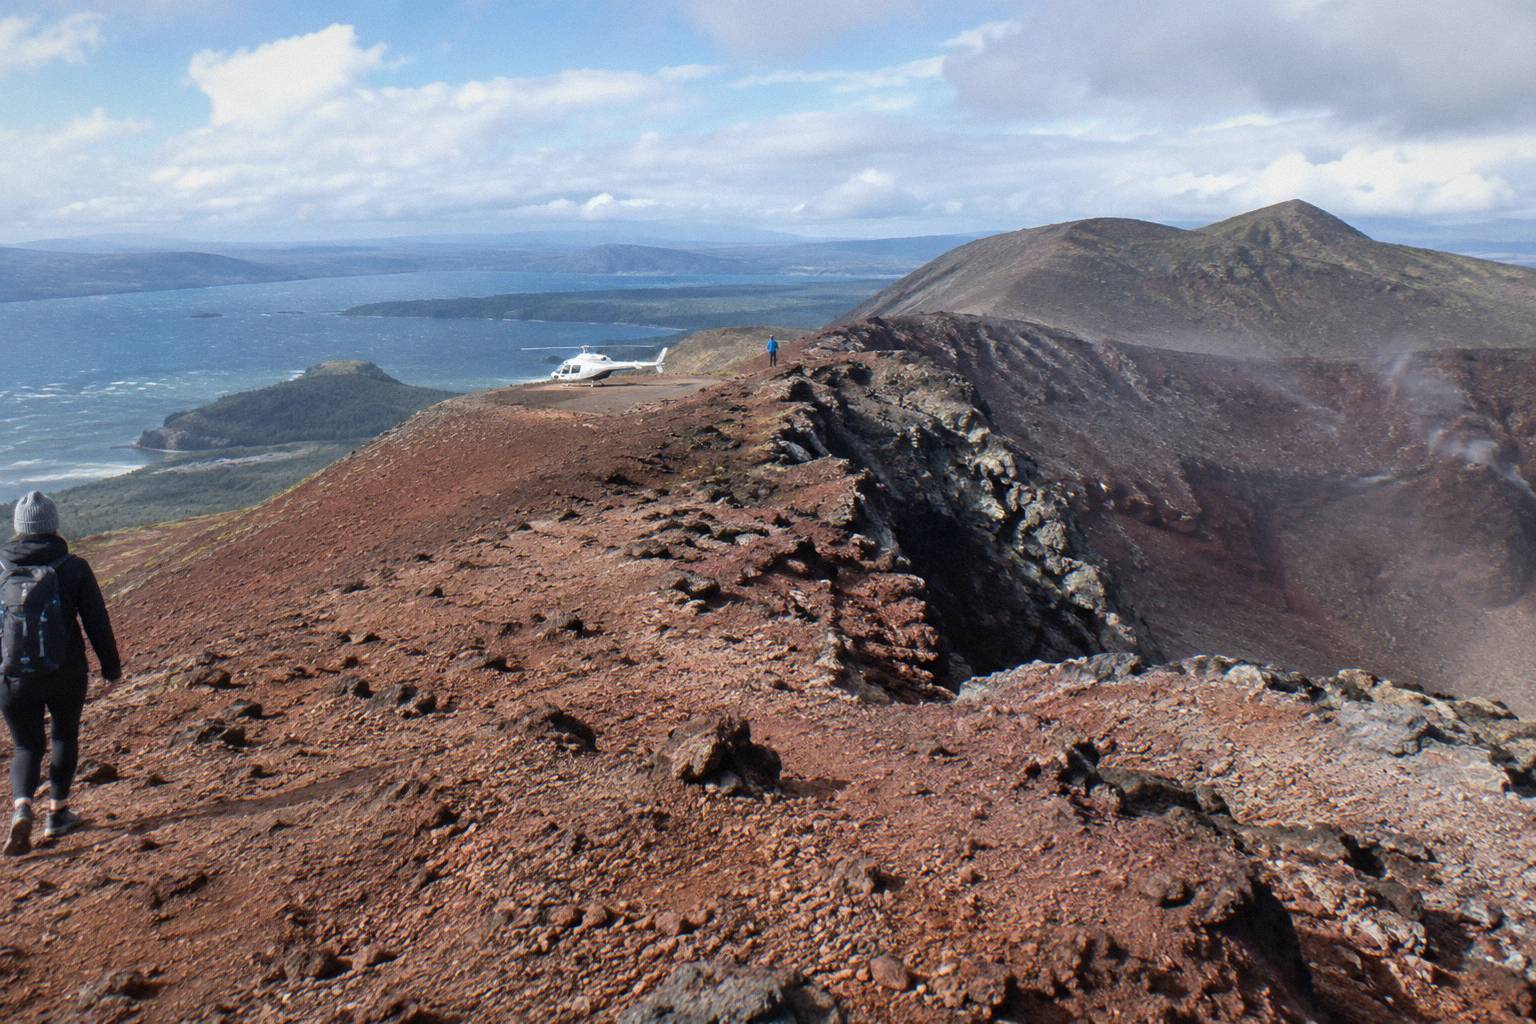
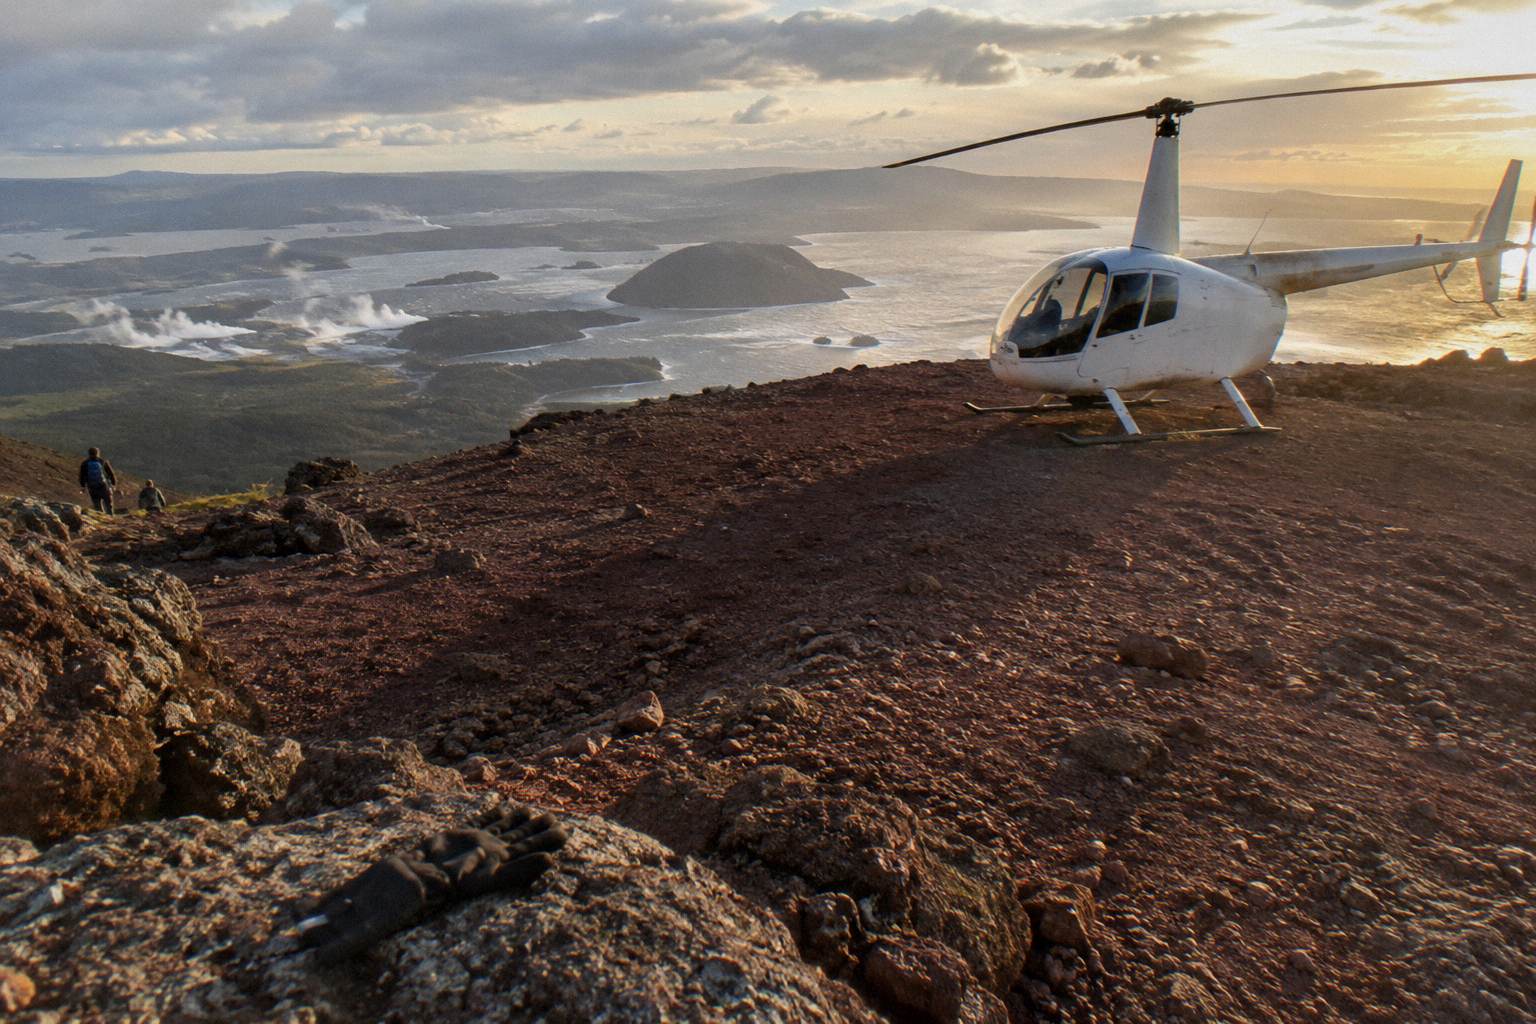
The landing changes the settings problem entirely. On the Volcano Landing flight the guided summit walk is described by the operator as 15 minutes, which is a landscape shoot on foot: red volcanic rock, the rift line and long views, handheld, with time to recompose. The pilot's discretion governs whether the landing happens at all, since the operator's wording puts excursion landings at your own risk and at the pilot's sole discretion, so treat the ground shoot as a strong possibility, not a promise, and bank the aerial frames on the way in.
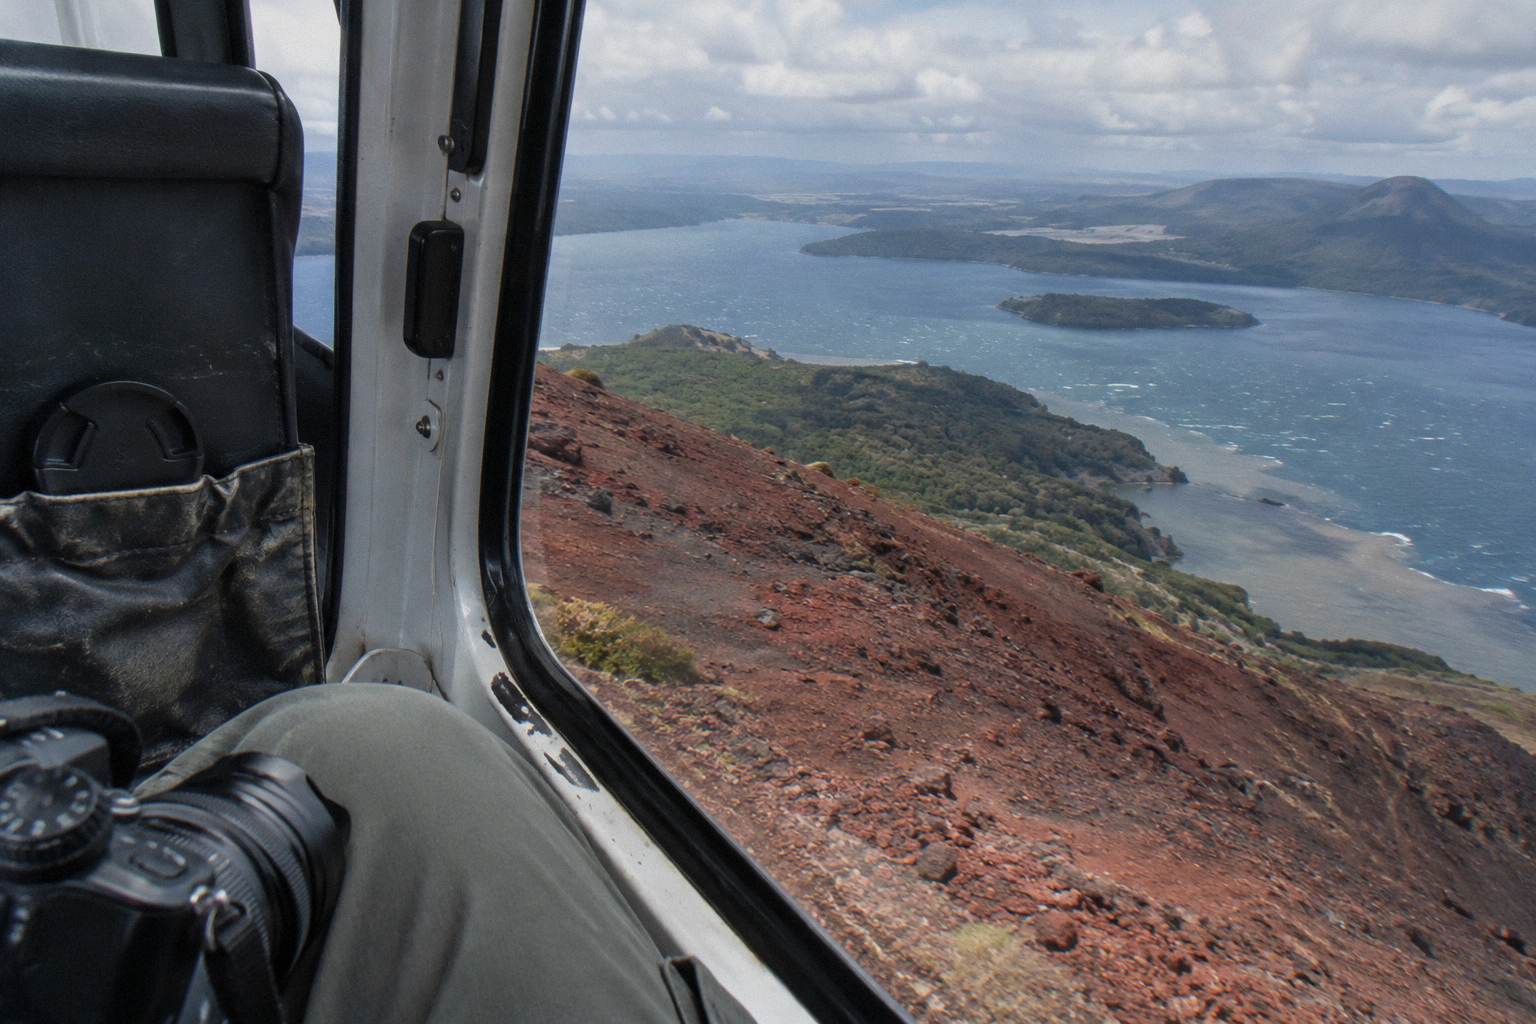
Storage and batteries deserve a sentence before the day itself. Cold air at altitude and constant burst shooting drain batteries faster than a normal walk would, and a full card halfway up the rift is a self-inflicted wound. Start the flight with empty cards and a charged spare in a jacket pocket, warmth helping the cell, and resist reviewing every frame in the air: the screen review costs exactly the minutes the next frame needs.
When Is The Best Light For Photographing A Flight?
Mornings often give the calmest weather and smoothest flying with soft photo light, while afternoons can offer warmer air and late-day colour, especially in winter, and the operator says plainly that there is no hard and fast answer because the day's weather decides. The driest stretch in Rotorua runs from October to April, and the wettest months on the 1991 to 2020 normals are June and July.
The operator's FAQ is unusually direct on this: mornings often give calmest weather and smoothest flying with soft photo light; afternoon flights can give warmer temperatures and late-day colour, especially in winter; and if conditions are unsuitable the operator tries to reschedule. For a photographer, that is a two-option brief. Morning light over lakes is low, directional and quiet on the water. Afternoon light is warmer and lower still, but the air is more likely to be bumpy, which costs sharpness through glass.
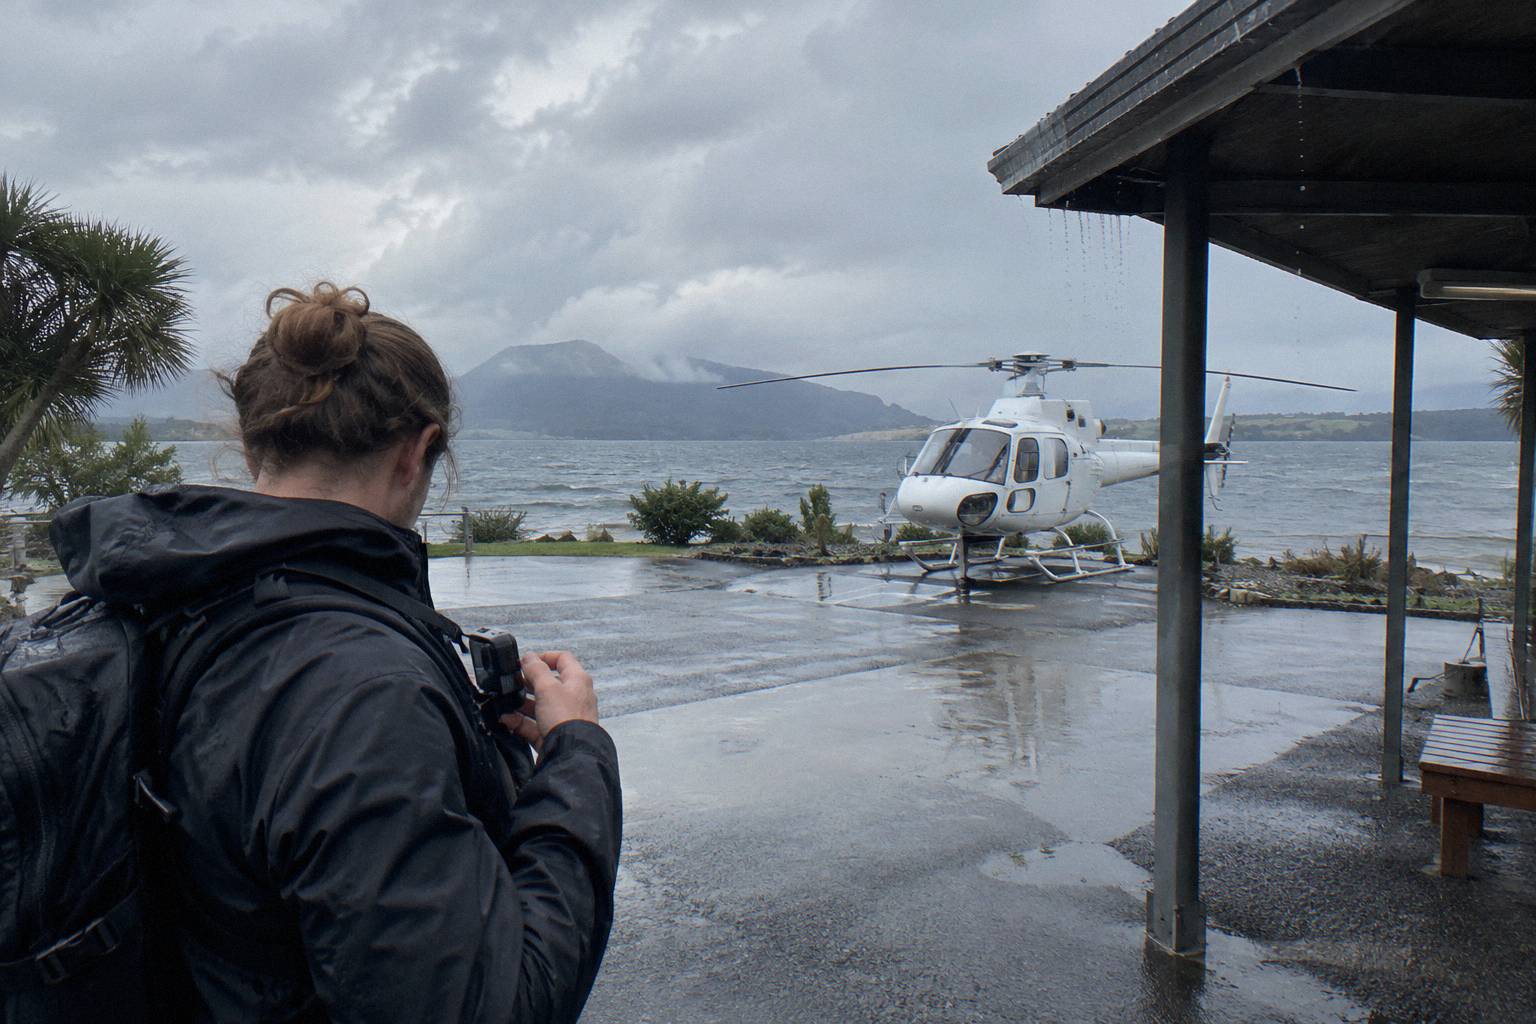
Season is the second lever. Rotorua's rainfall normals put November lowest at 86.8 mm and July highest at 137.4 mm, with the October to April window drier overall, per Rotorua's official tourism note on the region's weather. Winter flights are not off the table: the operator flies all months of the year in daylight hours, and a crisp winter morning after rain can deliver the clearest air of the season. The bet simply needs the 24 hour free-cancellation terms behind it.
| Month | Rainfall (mm, 1991 to 2020 normals) |
|---|---|
| January | 93.8 |
| February | 100.4 |
| March | 100.3 |
| April | 133.0 |
| May | 130.2 |
| June | 131.9 |
| July | 137.4 |
| August | 125.2 |
| September | 106.6 |
| October | 92.9 |
| November | 86.8 |
| December | 117.1 |
One more timing fact belongs here rather than repeated later: no scheduled sunrise or sunset flight is stated anywhere in the operator's material. A home-page photo caption shows passengers on the Tarawera summit at sunrise, but that is an image caption, not a bookable product, so do not plan a golden-hour shoot around a departure time nobody publishes.
How Do You Photograph The Tarawera Landing Itself?
The landing sequence is the densest 15 minutes of photography on the line-up: approach frames of the rift on the way in, a guided walk on the summit, and a return leg over the lakes, and the walk is the only part where you control composition fully. The operator describes the ground time as a 15 minute guided walk on the summit, with the landing always at the pilot's sole discretion.
Work the flight in three acts. On the approach, the operator's route crosses lakes Okareka, Okataina and Tarawera, so the transitions between water and mountain are the frames to be ready for, with settings already dialed in from the advice above. On the summit, the guided walk constrains where you stand but not how you see: the red rock, the rift line across the domes and the drop to Lake Rotomahana are the three repeating subjects. On the return, the light has usually moved, which makes the second pass at the lakes a different picture rather than a repeat.
The Helicopter Landing, Guided Summit Walk trip is the purest version of this shoot, from NZ$675 per person for 40 minutes total, and the Mount Tarawera/Orakei Korako Dual Landing Thermal Explorer adds a second, steamier ground subject for photographers who want watercolour conditions after the rock. For a deeper look at the access story behind the summit, including the Ruawahia 2B Trust and Ngati Rangitihi kaitiakitanga that govern landings there, read the Mt Tarawera landing guide.
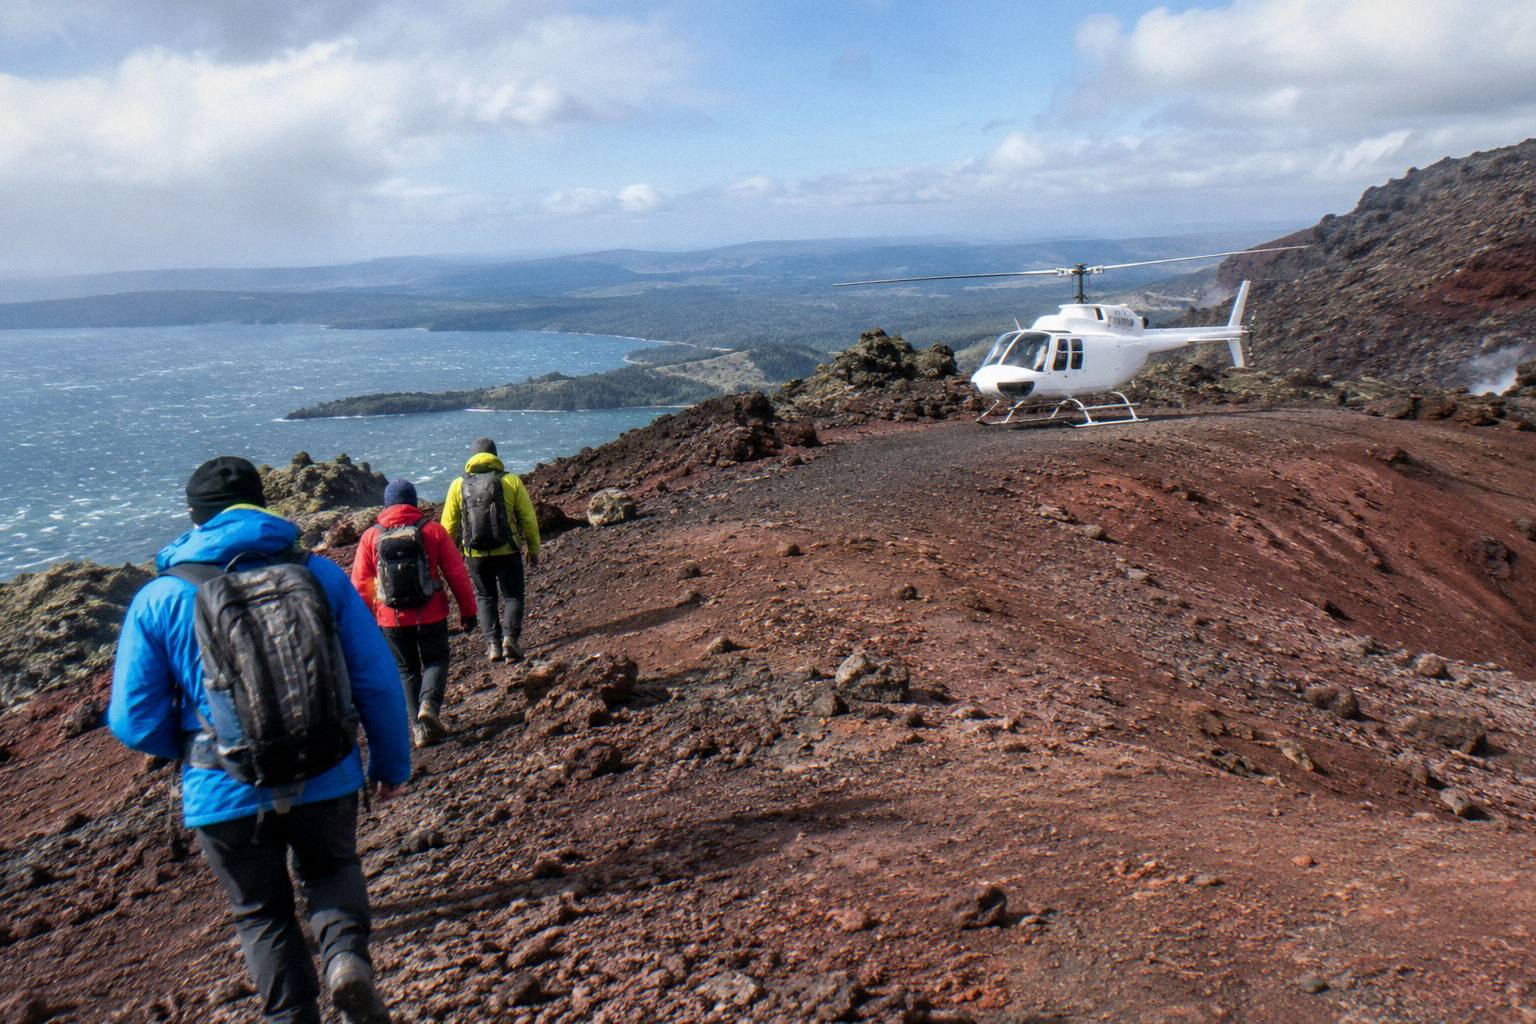
Footwear matters more than any setting on this part of the day. The operator recommends closed-toe comfortable footwear for flights with landings, and summit rock is loose in places, which is not the terrain for crouching low in sandals with an expensive body. A jacket belongs in the bag as well: the packing list names one, and the wind on an exposed summit dome at 1,111 m, the summit height given by GNS, is a different climate from the Lakefront.
Group etiquette on the walk is worth a thought too. Everyone on the flight wants the same first photograph of the rift, and the guided format keeps the group together, so the cleanest frames often come from waiting thirty seconds while the others move ahead, then shooting the rock and the people small in the frame. A human figure on that red ground gives scale that no aerial shot can match, and the guide's commentary usually pauses long enough for it.
What Ruins Helicopter Photos: The Common Mistakes?
The recurring failures are planning failures more than camera failures: booking a 15 minute flight and expecting a portfolio, dressing for the beach instead of the summit, fighting the window instead of working with it, and banking on a landing or a view the operator never promises. Flights are weather-dependent and landings are at the pilot's sole discretion, and every one of these mistakes is avoidable before the day.
The first mistake is mismatching flight to ambition. The 15-Minute Crater Lakes Flight by Helicopter is a taste, not a shoot: 15 minutes total, over lakes the operator lists across its crater lakes material, and gone. A photographer who wants the mountain should book a Tarawera flight; one who wants steam and colour should look at the Orakei Korako landing trips, from NZ$845 per person for the floatplane version. The second mistake is ignoring the weight and check-in rules: weights are declared at booking and verified on arrival, and arriving late for the 30 minute helicopter check-in risks the safety briefing that gates the flight.
The third is reflection neglect, covered above but worth naming as a mistake because it is the single biggest killer of otherwise good aerial frames. The fourth is over-promising the day: a flyover with cloud on the summit is still a flight, and the operator's own weather wording says a tour will not go ahead if it is not safe or if the views cannot be seen. The free 24 hour cancellation terms and the operator's reschedule-or-refund weather policy are the safety net, not a substitute for picking a good-weather window in the first place. If the whole question of picking conditions is new, start with the Rotorua helicopter weather guide.
Common Questions About Flight Photography
Can I Take Photos Through The Helicopter Window?
Yes, that is how every flight is shot: standard seats beside windows. Get the lens close to the glass, use a dark layer to kill reflections, and keep the strap on. Follow the safety briefing and any pilot instructions about the cabin at all times.
Do Any Rotorua Flights Fly With The Doors Off?
No door-off or window-opening flight appears anywhere in the operator's material for these trips, and none may be assumed. The sourced facts are a camera on the packing list and window seats on a summit flight. If open-door shooting is the goal, ask the operator directly before booking.
Which Flight Is Best For Photos?
For most photographers, a Tarawera landing flight: aerial frames of the rift and lakes, then 15 minutes of guided walking on the summit. The Mt Tarawera Helicopter Tour with Volcano Landing, rated 4.9 from 43 reviews, or the Guided Summit Walk trip, from NZ$675 per person, both fit.
Is A Phone Good Enough, Or Do I Need A Real Camera?
A modern phone handles the summit walk entirely and does respectable work through glass if you lock focus and exposure on the scene, not the window. A camera with a zoom gives more reach on the lakes and the rift. Bring whichever you can work one-handed for 15 minutes in wind.
What If The Weather Is Bad On My Flight Day?
Flights operate subject to suitable weather and safe conditions; the operator works with you to reschedule or provide a full refund when it cancels, and line-up bookings carry free cancellation up to 24 hours in advance. Weather calls belong to the operator, and a tour will not proceed if the views cannot be seen.
When Should I Fly For The Best Light?
Mornings often give the calmest air and soft photo light; afternoons can bring warmer colour, especially in winter. The operator says there is no fixed answer because the day's weather decides. The driest, warmest stretch in Rotorua runs from October to April.
One last framing thought: Rotorua Helicopter Tours covers the full line-up if the photography angle has narrowed the choice too far, and the floatplane versus helicopter comparison is worth a read, since floatplane windows and helicopter windows give genuinely different pictures.